User Documentation
Helpful information about Amora - Modern, E-commerce, Classic and Multipurpose Template.
Helpful information about Amora - Modern, E-commerce, Classic and Multipurpose Template.
With your purchase of this theme, the first step is to download the package from Bootstrapbay.. Move your mouse over your Bootstrapbay Login name in the right top corner and click Download. You will see the number of items purchased, along with the package’s content, as shown in the following diagrams.
Next, click Download > Main File(s) next to Amora and save the package on your computer.
The download includes documentation, license, and the Amora files folder.. Unpack the entire package after downloading.
Unzip the downloaded package and open the /HTML folder to find all the template files. You will need to upload these files to your hosting web server using FTP in order to use it on your website.
Below is the folder structure and needs to be uploaded to your website root directory or your localhost server:
Unzip the downloaded package and open the /HTML folder to find all the template files. You will need to upload these files to your hosting web server using FTP in order to use it on your website.
Amora uses 2 fonts: Open Sans and Montserrat from the Google Fonts Library. You can change the fonts from /css/style.css file in below lines. If you want to use self hosted fonts other than Google fonts then here is an example of self hosted fonts. In this case you need to remove below lines and change font names in /css/style.css file as per your fonts used.

Logo container can be found in the nav container (.navbar).
A favicon is a small icon that identifies a website in a web browser. Most browsers display a website's favicon in the left side of the address bar, next to the URL. Some browsers may also display the favicon in the browser tab, next to the page title.

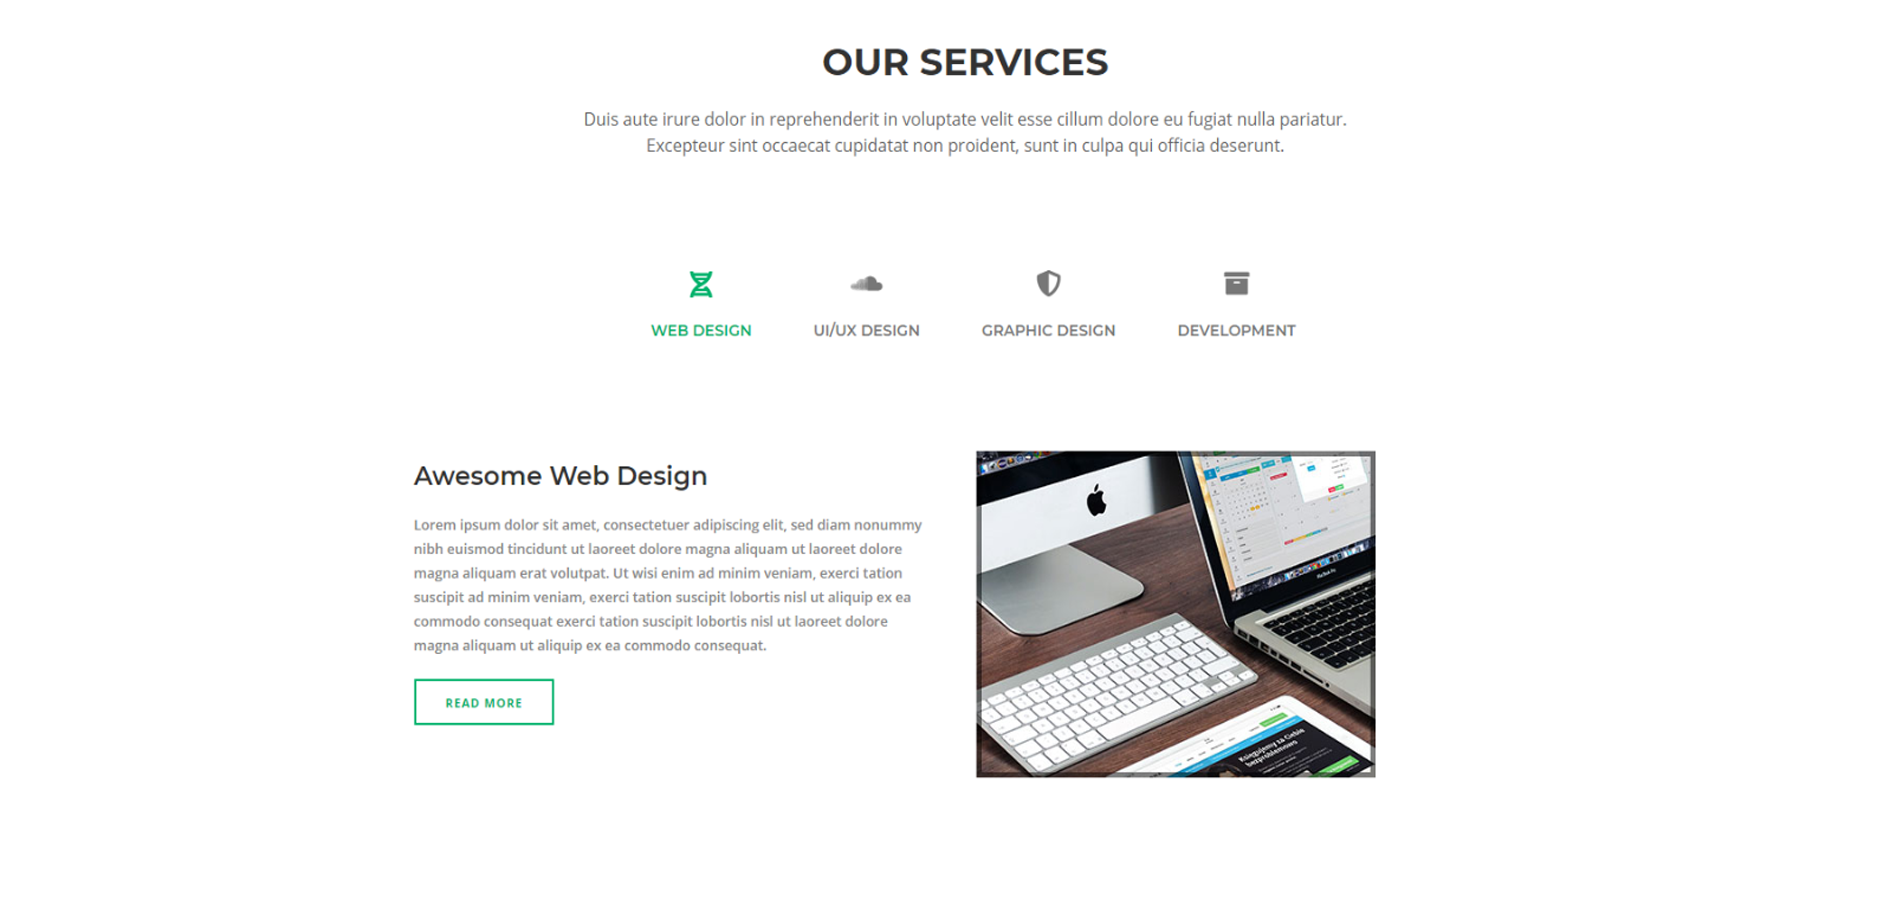
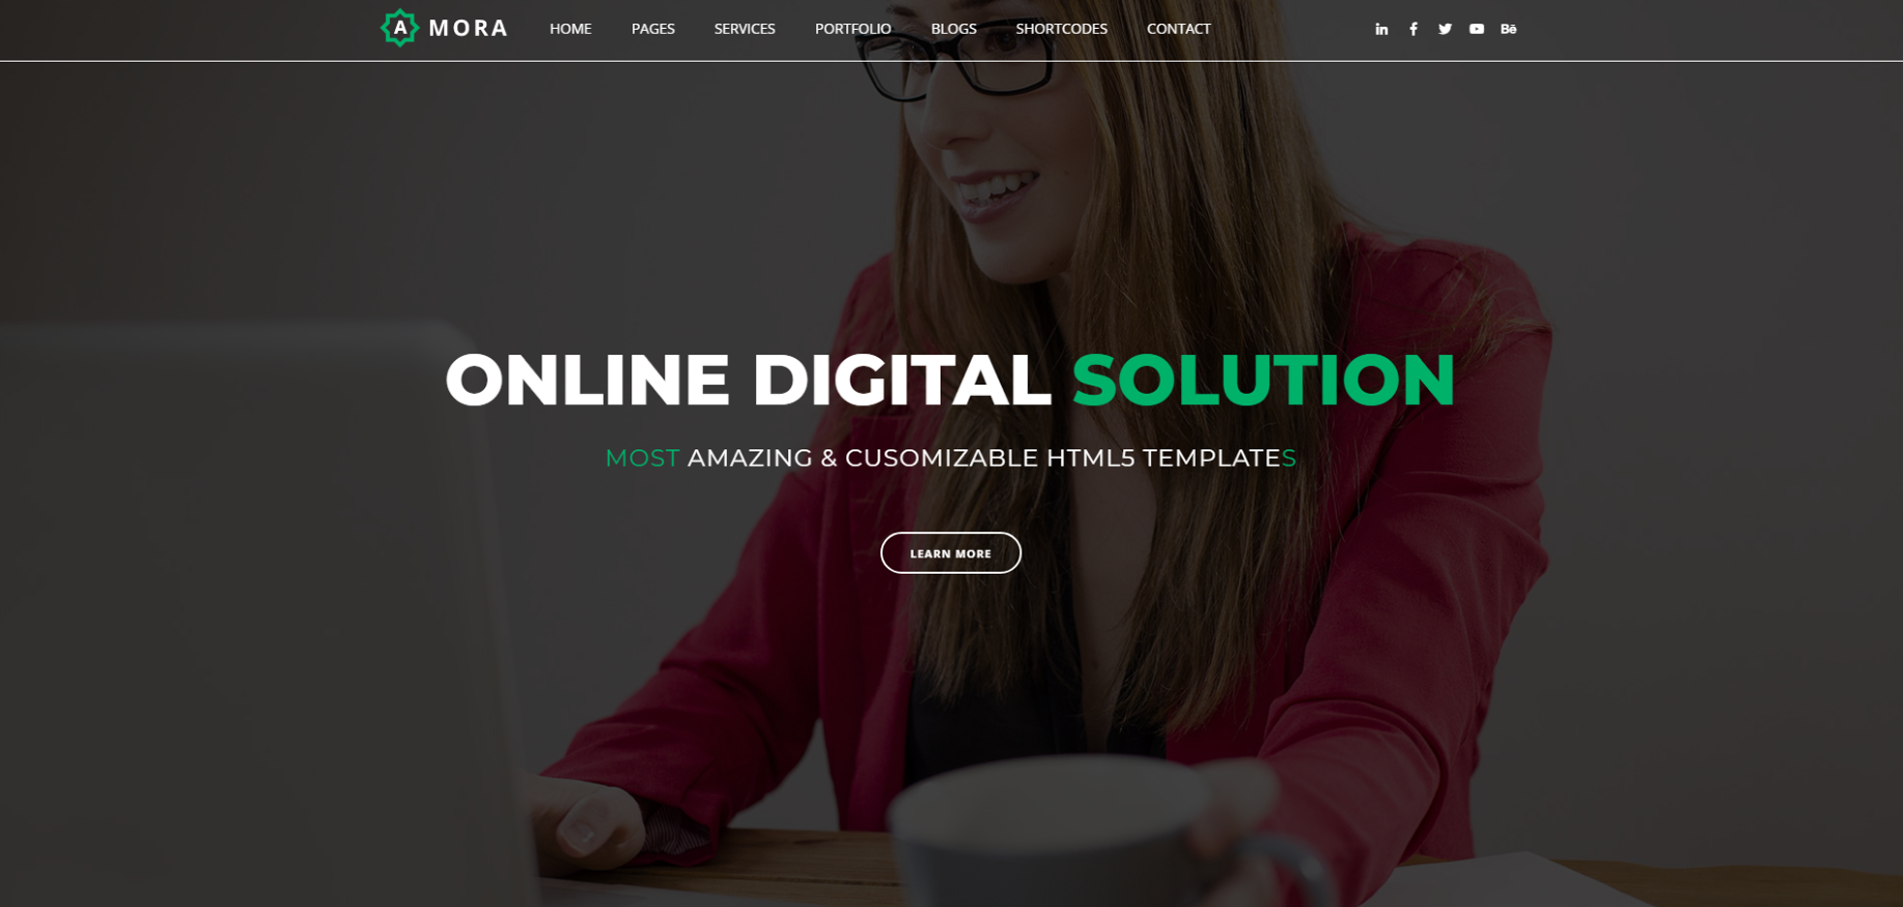
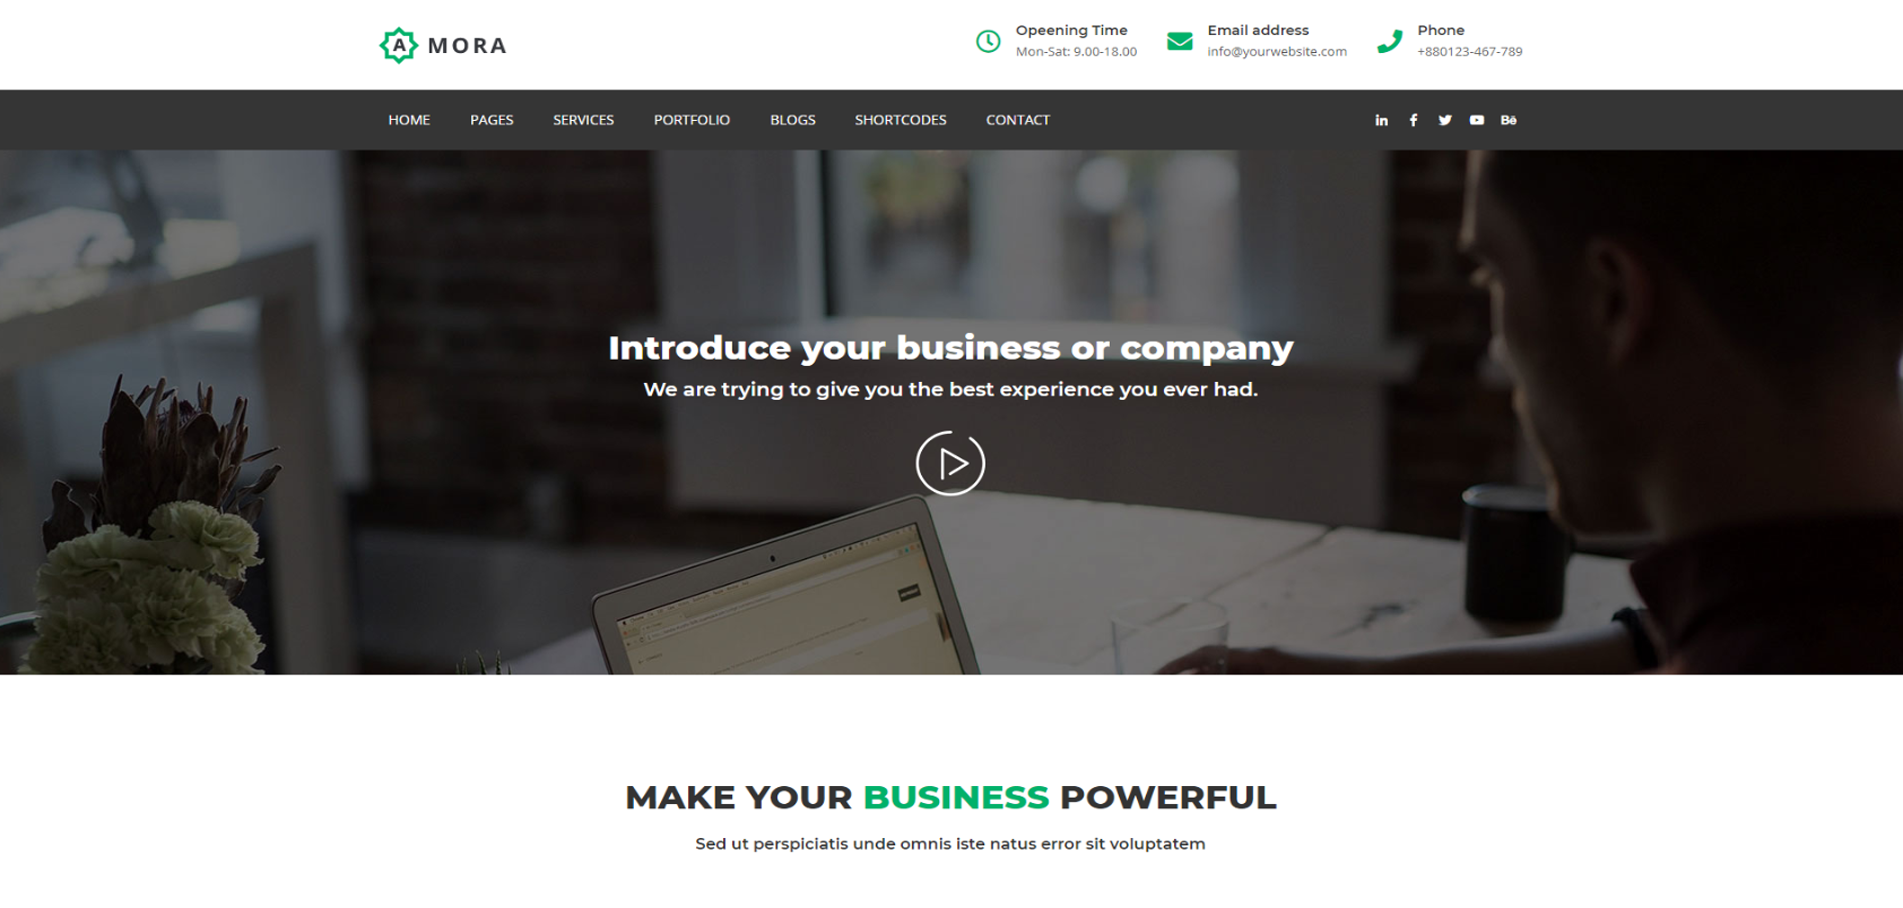
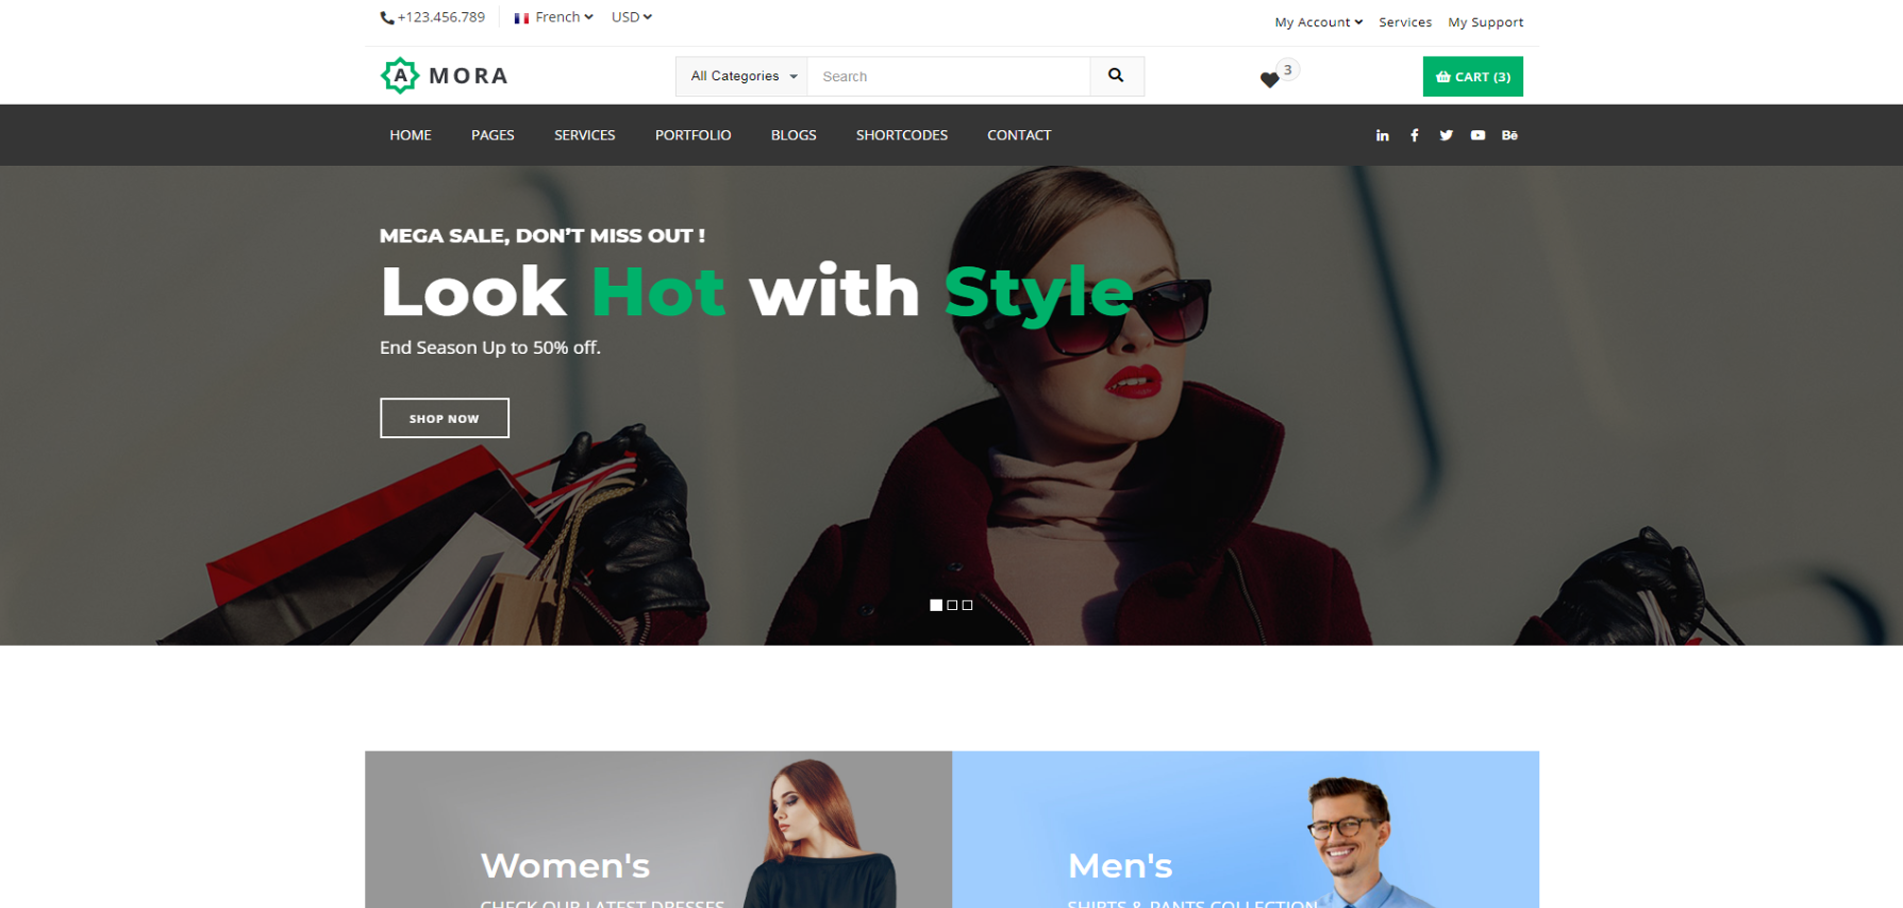
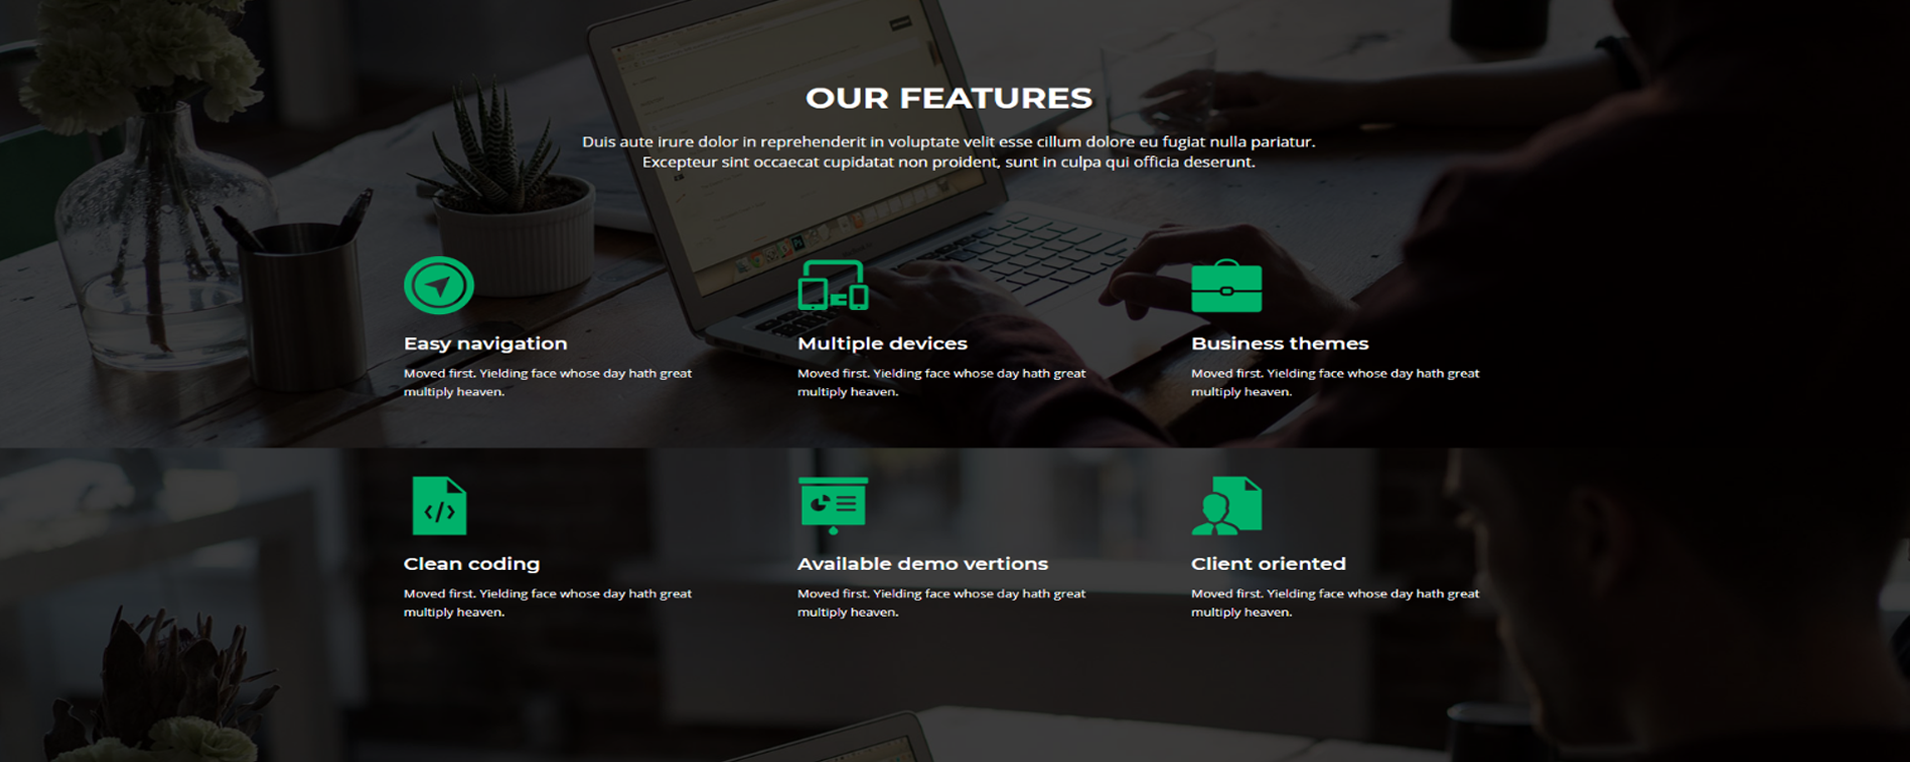
Header is an important theme feature, and is what users see first. There are 6 different header styles with sticky header, top bar header, center logo header, center navigation, transparent header, header left and etc.

We are using OWL Slider, Bx Slider, Kwicks Slider and Boostrap Slider for Kento templates creations.
We are using OWL Slider to create of Main Slider or Blog Slider or Testimonials and other element creation which we use slider.

If you want to change slider config as per requirement, you need to change js/main.js file.
We are using Bx Slider to create of Project Details Page Slider.

If you want to change slider config as per requirement, you need to change js/main.js file.
We are using Boostrap Slider to create of Main Slider and other element creation which we use slider.
You can add as many tabs as you need. Just changing or add the Title and Content for each tab. You can activate a tab navigation without writing any JavaScript by simply specifying data-toggle="tab" on an element. Adding the nav and nav-tabs classes to the tab ul will apply the Bootstrap tab styling.
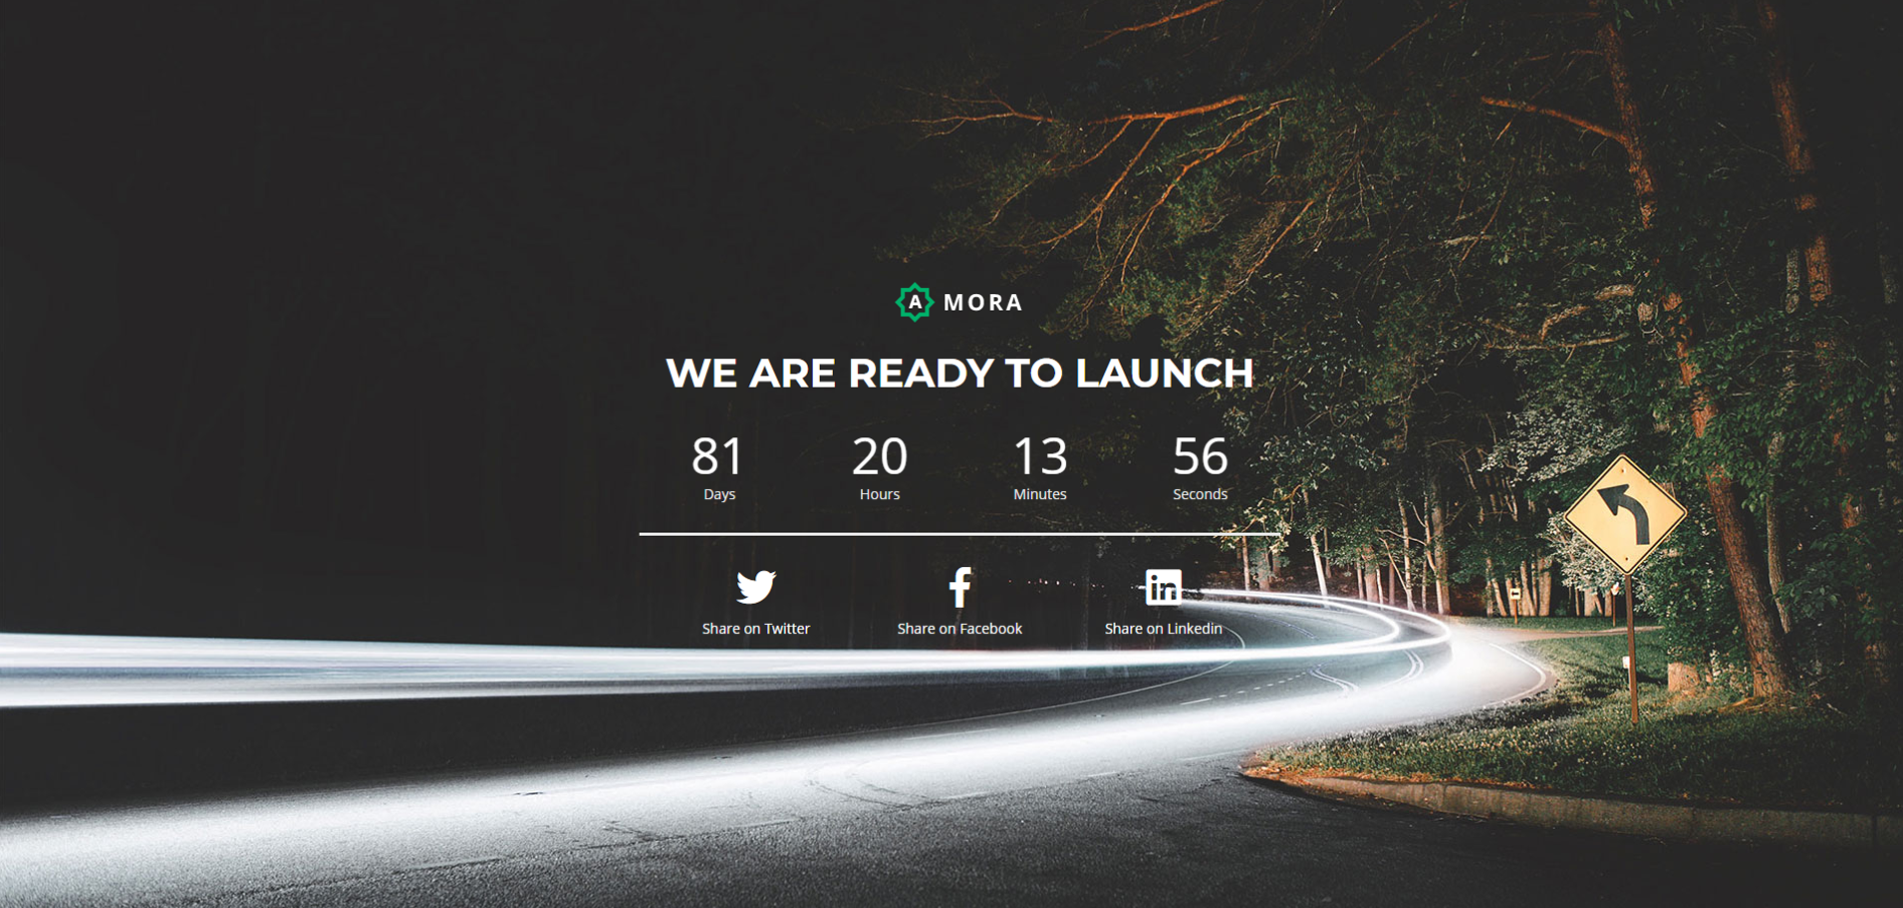
You can change number animation without change javascript. You just need to change in html for counter and countdown timer.
Counter is a jQuery plugin that animates a number from zero

You just need to change data-enddate attribute value to set your launch date in yyyy/mm/dd format and time in 24 hours format like hh:mm:ss
Animation is a bunch of cool, fun, and cross-browser animations for you to use in your projects.
Animation is uses for display to element different ways when page scroll.You can also set duration of animate element.Below mention classes for animate elements.
Parallax scrolling is a scrolling technique used computer graphics in which background images move more slowly than images in the foreground, creating the illusion of depth and immersion.
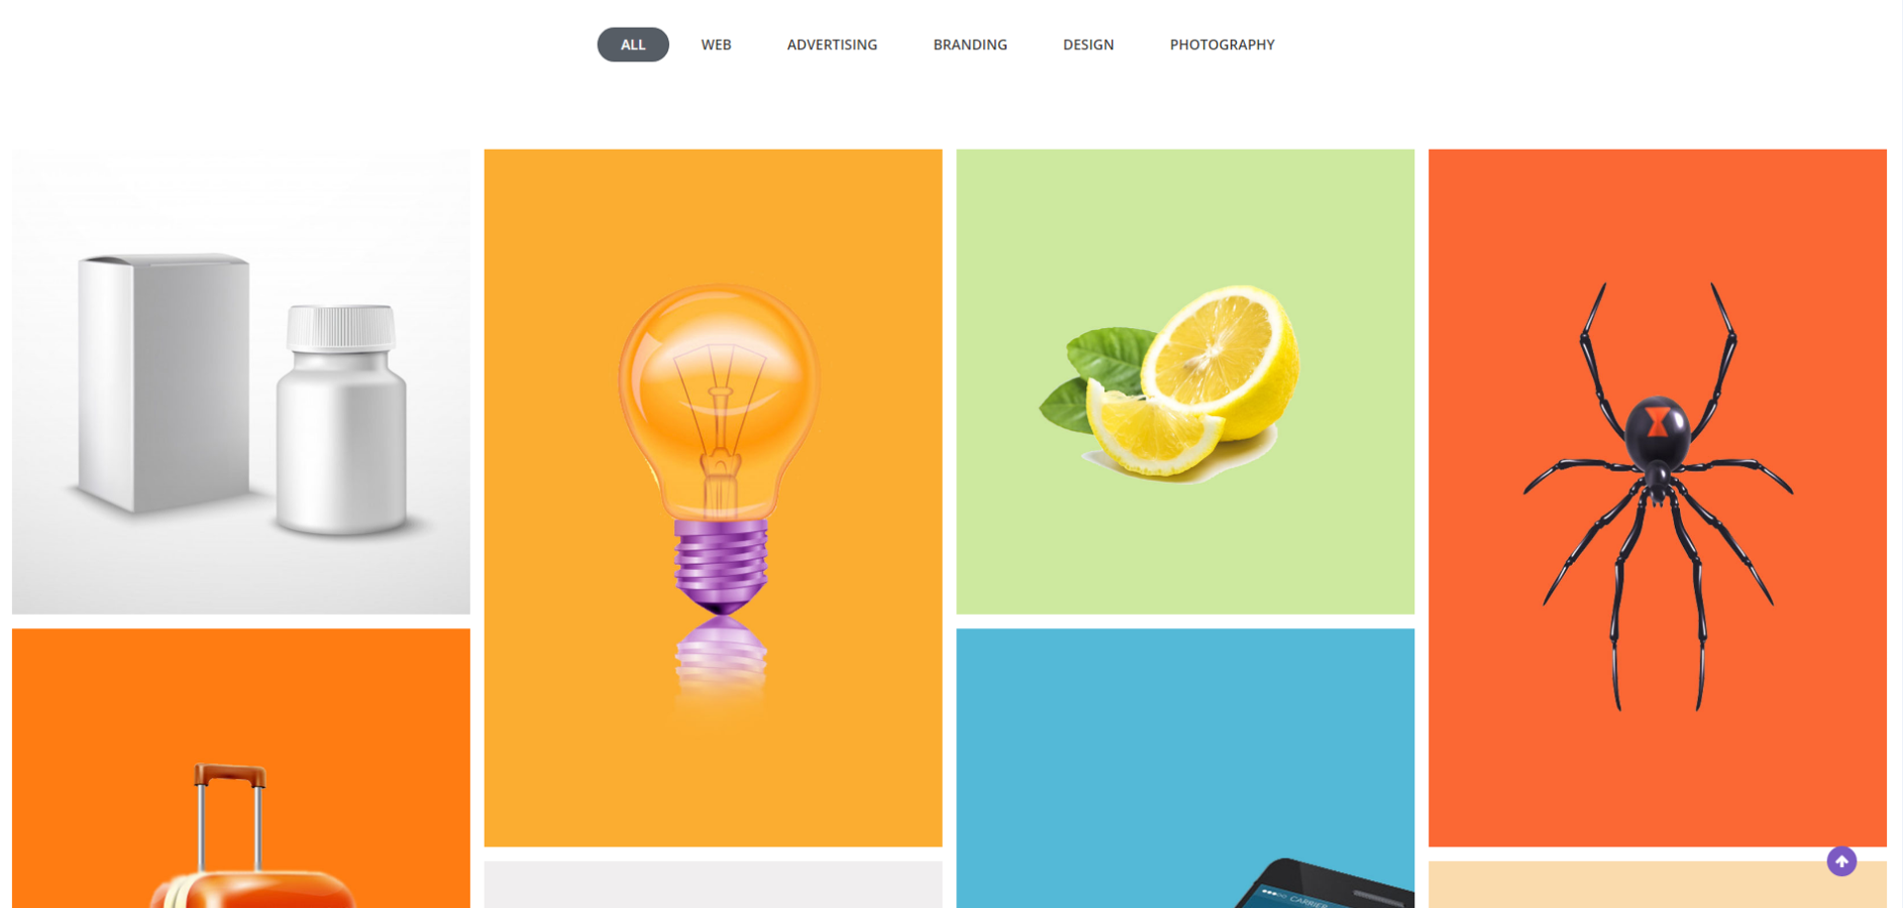
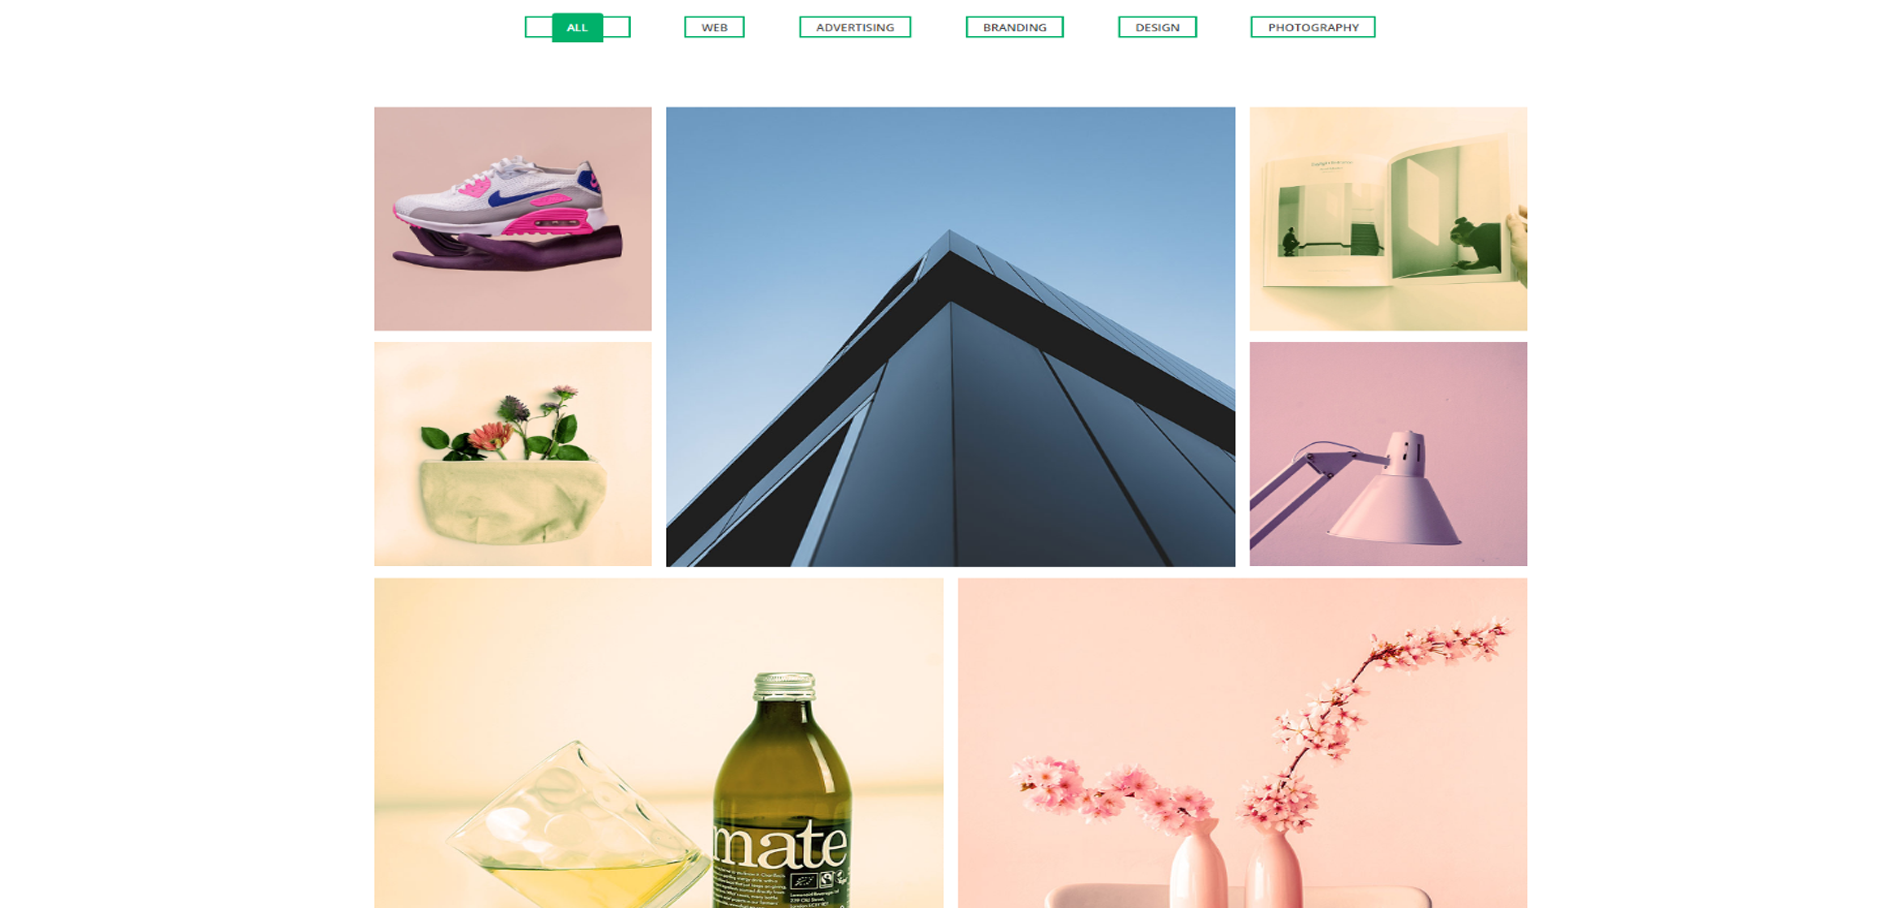
Kento includes different types of portfolio layout as mentioned below to setup your own portfolio as per your requirement.
Amora include 7 various type of api integration.It's likes as Active Campaign, Campaign Monitor, Freshmail,Get Response, Mailchimp, Mailerlite, Sendloop and Custom Email.
Amora also gives you information how to add new field in forms and also API.
Integrate Active Campaign API service in signup or newsletter form, please following information.
Integrate Campagin Monitor API service in signup or newsletter form, please following information.
Integrate GetResponse API service in signup or newsletter form, please following information.
Integrate Mailchimp API service in signup or newsletter form, please following information.
Integrate MailerLite API service in signup or newsletter form, please following information.
Integrate FreshMail API service in signup or newsletter form, please following information.
Integrate Sendloop API service in signup or newsletter form, please following information.
Integrate Custom Email in signup or newsletter form, please following information.
If you are want to integrate the Form API in predefined demo then please follow below steps.
Fill API Details On file all-api-config.php as per which API Service you want to integrate.
!Important: Your signup or newslette form will not work unless you have your files running on a hosting server with PHP / JS. When you have your files ready on your hosting server, you need to edit the settings to make the email function work.